Creating a PGP Key Pair
Complete Encryption. Total Protection.
Overview
Pretty Good Privacy (PGP) provides data encryption and decryption for communication data such as texts, emails, directories, and files. It uses a algorithmic combination of hashing, data compression, symmetric-key cryptography, and public-key cryptography to sign, encrypt, and decrypt messages using a combination of private and public cryptographic keys.
This tutorial provides step-by-step instructions on how to generate private and public PGP keys using the key generator tool GPG4Win. You can use any key generator tool to create, decrypt, and encrypt messages; however, the GPG4Win application is free and easy to install.
Install the Key Generator Tool
- Navigate to the GPG4Win download site and download the full version of the application. As of this writing, the full version is Gpg4win v2.3.0.
- Save the download package and open it. If you have User Account Control enabled, click
 when the warning message displays. The Installer displays a Language Preference dialog box.
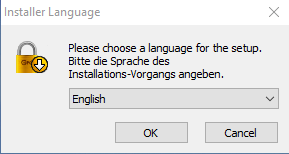
3. Use the dropdown the select your language preference and click 
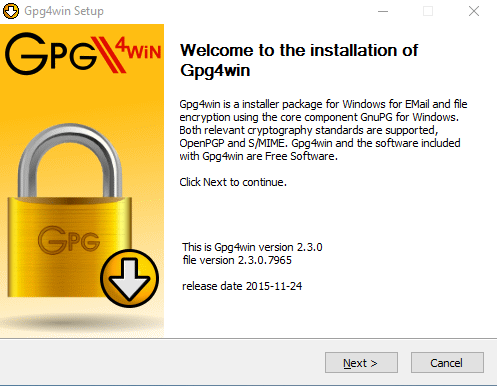
4. Click 
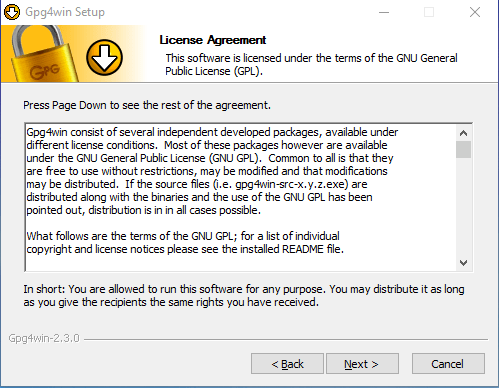
5. Click 
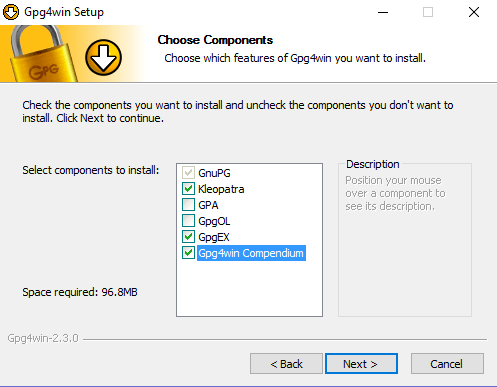
6. Ensure the Kleopatra, GpgEX, and Gpg4win Compendium components are checked and then click 
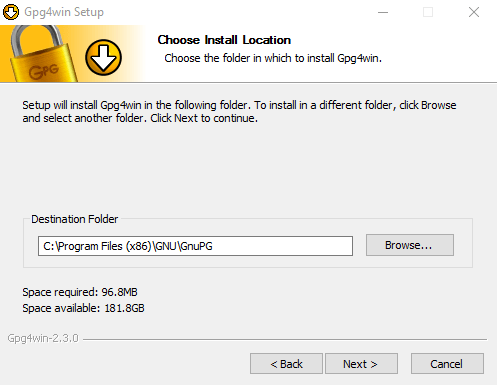
7. Choose the default install location or click 

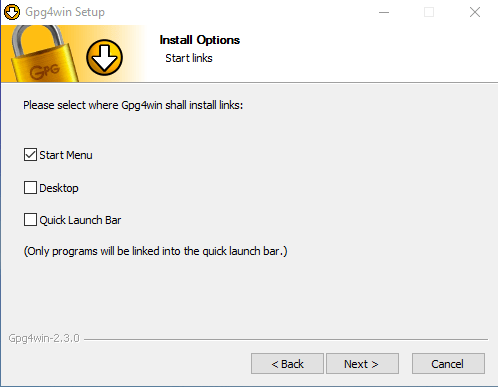
8. Select if and where you’d like to install a shortcut to the GPG4Win application and then click 
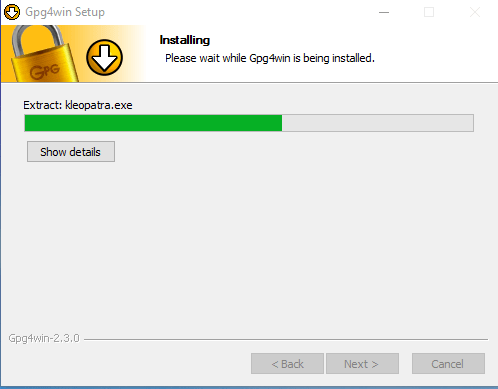
- When the installation completes, click
and then
.
Generate Your Key Pair
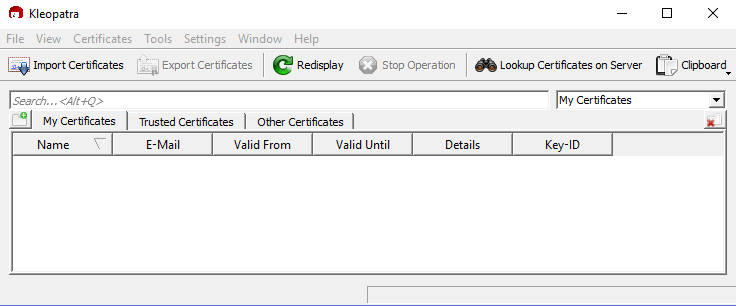
- Open the Kleopatra component. The following screen displays.
2. Click File > New Certificate. The Certificate Creation Wizard screen displays.
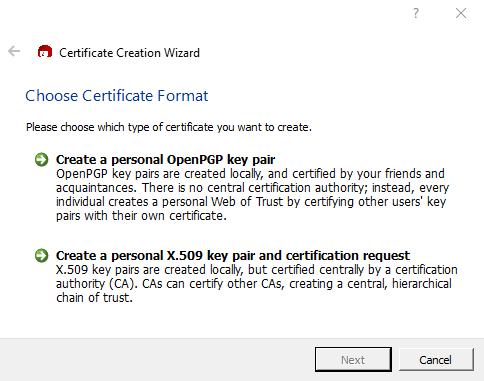
3. Click the Create a personal OpenPGP key pair option. The following Enter Details screen displays:
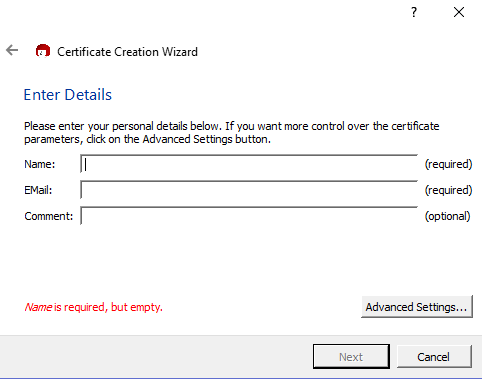
4. Enter pertinent values in the Name, Email, and Comment fields and then click 
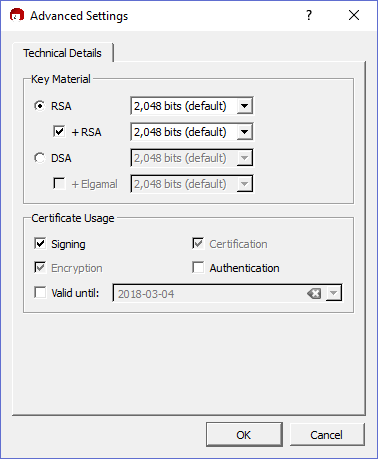
5. Ensure that the RSA radio button is selected under the Key Material section. Use the dropdown in the field next to it to select the 4,096 bits option.
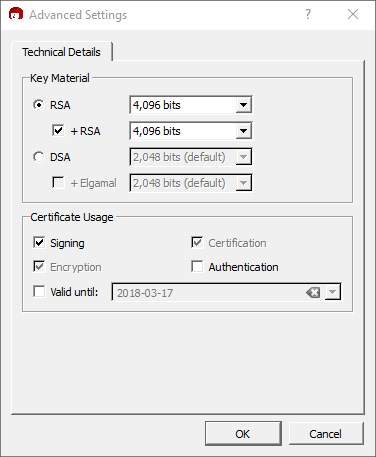
6. Click 

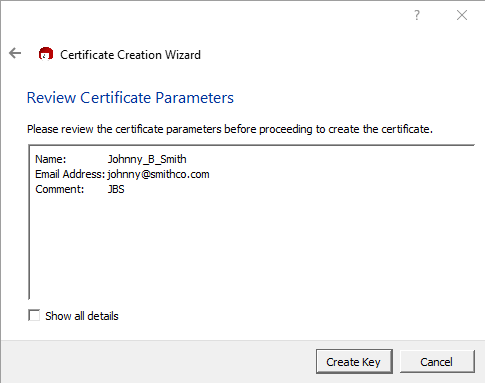
7. To change a parameter, click 

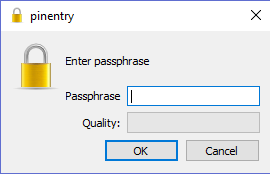
8. Enter a value in the Passphrase field and click 
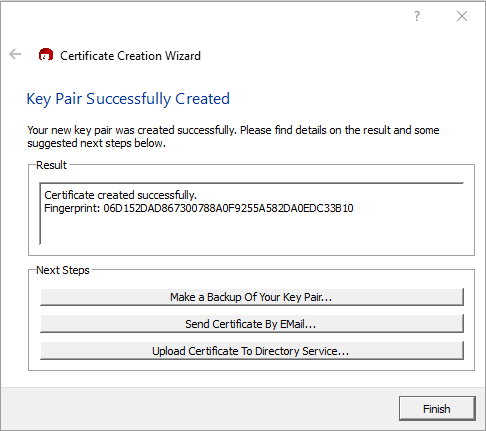
9. Click 
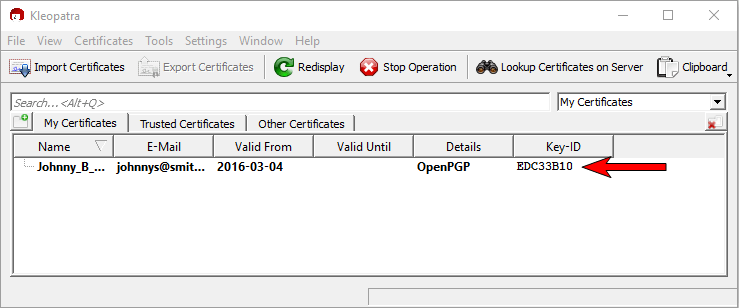
Obtain Your Public Key
- Open the Kleopatra component. Right-click on your key and select Export Certificates.
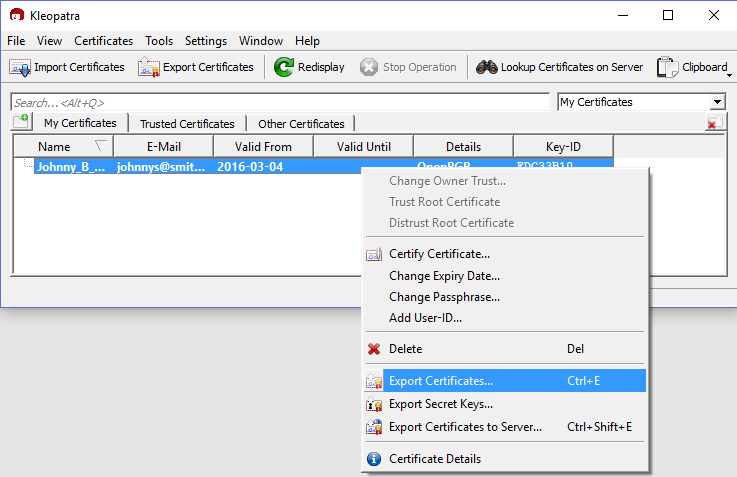
- Browse where you want to save the certificate, give the file a name, and click
.
- Open the file in your preferred text editor. NOTE: To see the file properly displayed in the Save location, you may need to select the All Files option in the File Types dropdown next to the File Name field in your File Explorer window. Your public key displays.
Obtain your Private Key
- Open the Kleopatra component. Right-click on your key and select Export Secret Keys.
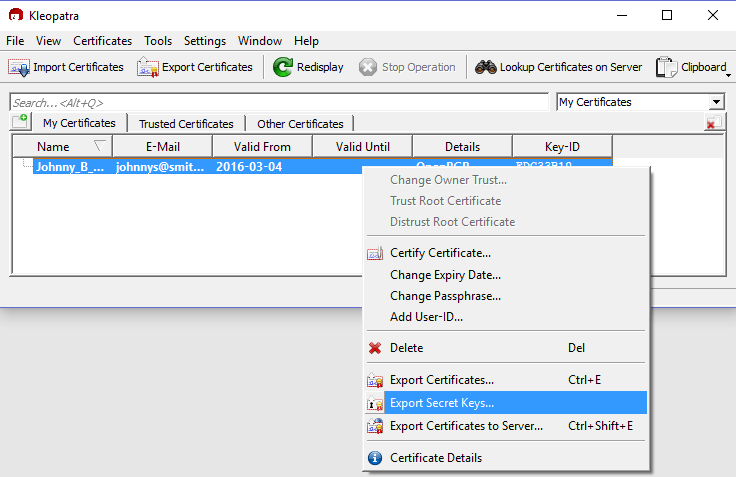
- An Export Secret Certificate dialog box displays. Click the
to select where you want to save the key and then click the ASCII armor check box.
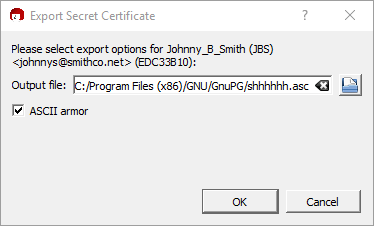
3. An Export Secret Certificate dialog box displays. Click the 
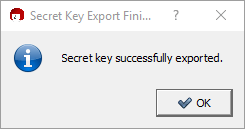
4. Click 
Import a Public Key
- Obtain the public key of the vendor to whom you will be sending encrypted messages. Forte's public key is as follows:
—–BEGIN PGP PUBLIC KEY BLOCK—–
mQGiBDnTWtgRBADRPX9RN8MZSlNRyoAKaxOYgTsKgauYNer1d3 X9Q7O0awzrKfES
CnhUw95LDvwaGjj58DjUZDrDkW2N5S1WjXpPJepqA28zxQyrWB tvxtqRVpcEewiD
6ZUO8S+YGrvMvpfUwLuKUWkjxEMbX6ofXxooO00t6UZk8hUah1 DQVXGlBwCg/92U
DUldiy/X92QNDtIetmP7m90EAMoIb45c+G/UhTQCfhq8U7RmrEpx0xxdvdHoV344
gZRzF5pNnh5zbyW3onQjpH+ti7v58hYzcy1yNuPJLcY+T5jBe0 eCQ1PrkYhLmfSS
iAAd5Be+YgCGcb0KX0ku87dMgHRhmgjM3a8YrmJ/yxEsAA84SPOAtDC0tYJHOIzv
Ob+8BAC10ZZEpIYvqBMfmH+0e4I/7riBDowzVY4n7SAIbA/4qHo4lmzCBjJ7vpg6
0fSUbbEpdOrHKIQHTzGCeFWLdxxNzXedQh/tZYYACYPkpFxiVyi8bZqsDrbBiRku
rDogLDM5uwF61fCJ1k/x7IlxeL3jORJygLqbjqK+qfUFE7mxWLQwUGF5bWVudHNH
YXRld2F5IDxQcm9jZXNzaW5nQFBheW1lbnRzR2F0ZXdheS5uZX Q+iQBOBBARAgAO
BQI501rYBAsDAgECGQEACgkQUaPpPpkZVFzGHACcCA8ZypVyeW iZnmFovsOVa+gc
YrUAn1HmqQhPiVlKFO9Wo6Wmv76GcOQQuQINBDnTWtgQCAD2Ql e3CH8IF3Kiutap
QvMF6PlTETlPtvFuuUs4INoBp1ajFOmPQFXz0AfGy0OplK33TG SGSfgMg71l6RfU
odNQ+PVZX9x2Uk89PY3bzpnhV5JZzf24rnRPxfx2vIPFRzBhzn zJZv8V+bv9kV7H
AarTW56NoKVyOtQa8L9GAFgr5fSI/VhOSdvNILSd5JEHNmszbDgNRR0PfIizHHxb
LY7288kjwEPwpVsYjY67VYy4XTjTNP18F1dDox0YbN4zISy1Kv 884bEpQBgRjXyE
pwpy1obEAxnIByl6ypUM2Zafq9AKUJsCRtMIPWakXUGfnHy9iU siGSa6q6Jew1Xp
Mgs7AAICB/4qadF3lHmqtLlAci1FXs4TRTKRCHOVvZJ1tVOFcIv58bdQSFB0 yYxu
zu5bINDc9FJmeHo/AyVO1c+ureVp8cYcjqbu/v77yBLQegNalEvkiQw5vbHqE637
VnbFgDztw9vQ6JBEHl3iYcfy14hc09QwtxMo7jYa2204jokZG5 1+ZfeMICeijZjf
yNPAIU3jWsUfBOgPWBtTR8xNbvyCoJjWRX/dvl70mcPCXomyN/r5EgfJtOB75VM6
OJ5U79bCdHIWhPnIZ+C5lxo7wsKbmkezTxUfMknD+K/lYyexVg7cczrCwUBUjrDw
MdKn4uTozixpB/2zoLpd/il/GHaggzaxiQBGBBgRAgAGBQI501rYAAoJEFGj6T6Z
GVRcowUAoKXG5vrlZec+4R/JdqXTTfHOFLWwAJ9XWtTpbTdbeTEyT7SQ1ItpULNp
4A==
=bA9r
—–END PGP PUBLIC KEY BLOCK—–
2. Copy the entire key block including ---BEGIN PGP PUBLIC KEY BLOCK--- to ---END PGP PUBLIC KEY BLOCK---.
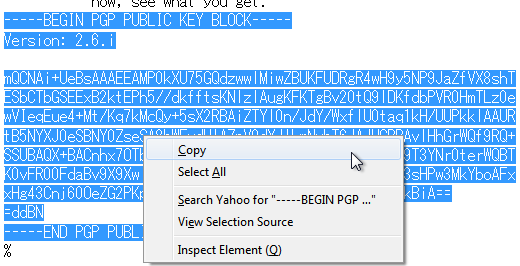
3. Open the Kleopatra component. Click Clipboard > Certificate Import. A Certificate Import Result dialog box displays.
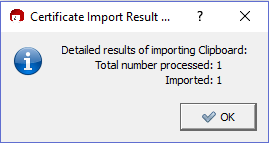
4. Click 
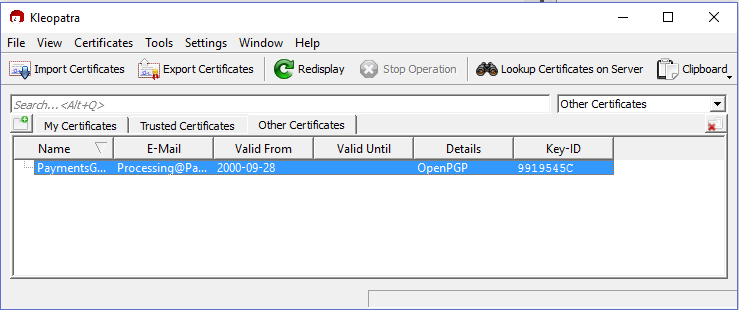
Importing Your Private Key
- Open the Kleopatra component. Click File > Import Certificates.
- Use the File Explorer tool to browse to where you've saved your private key. Select the key file and click
. The Certificate Import Result dialog box displays.
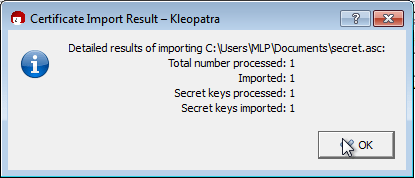
3. Click 
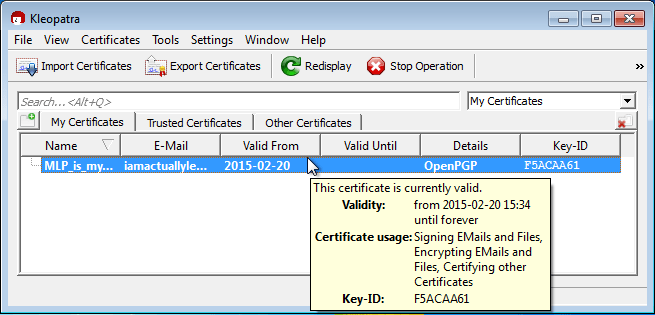
Decrypting a Message
Only your private key can decrypt encrypted messages from Forte. This ensures that only the intended recipient of a message can view its contents. To decrypt a message using GPG4Win, complete the following steps:
- Copy the entire contents of the message.
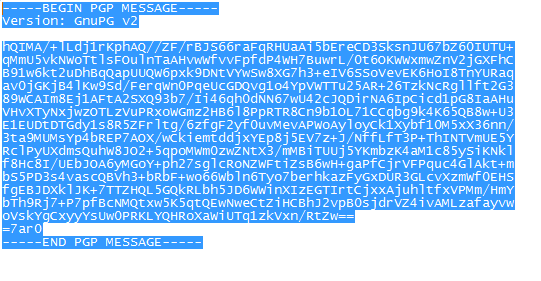
2. Open the Kleopatra component. Click Clipboard > Decrypt/Verify. A Pinentry window displays asking for the passphrase you created when you generated your key pair.
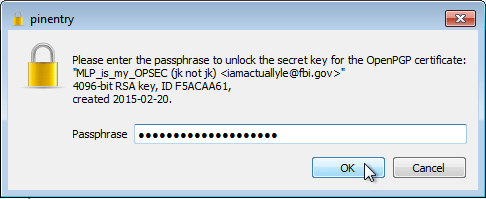
- Enter the passphrase and click
. A window displays indicating that the file was decrypted and has been copied to your clipboard. Click
.
- Open the text editor of your choice and paste the decrypted message.


 .
. .
. . The Certificate Import Result dialog box displays.