Install the Key Generator Tool
- Navigate to the GPG4Win download site and download the full version of the application. As of this writing, the full version is Gpg4win v2.3.0.
- Save the download package and open it. If you have User Account Control enabled, click
 when the warning message displays. The Installer displays a Language Preference dialog box.
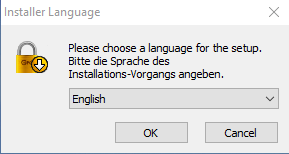
3. Use the dropdown the select your language preference and click  . The GPG4Win Setup window displays.
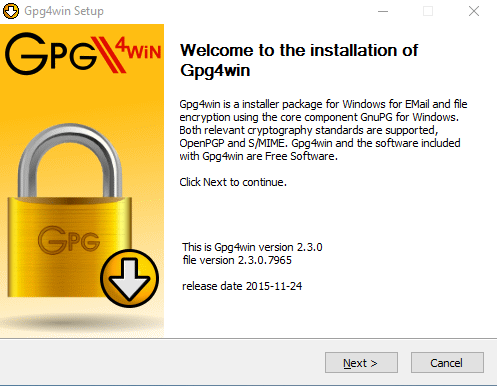
4. Click  . The License Agreement screen displays.
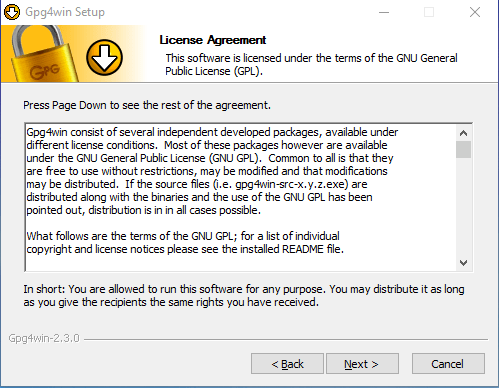
5. Click . The Choose Components screen displays.
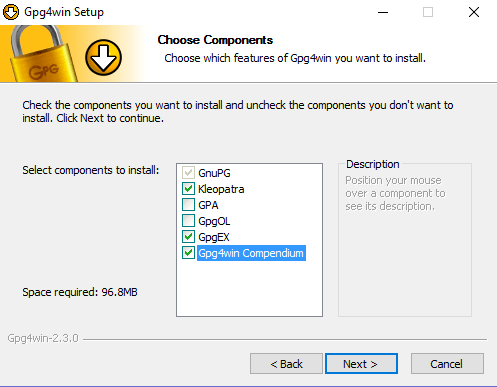
6. Ensure the Kleopatra, GpgEX, and Gpg4win Compendium components are checked and then click . The Choose Install Location screen displays.
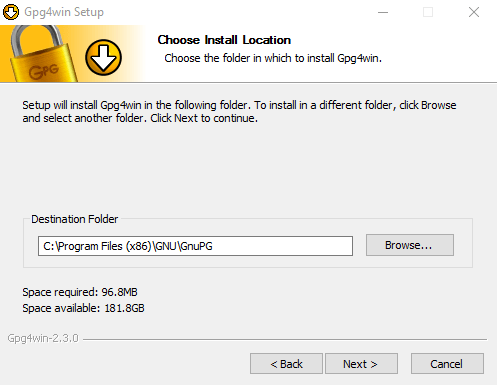
7. Choose the default install location or click  to look for an alternative destination folder. After selecting the appropriate folder click . The Install Options screen displays.
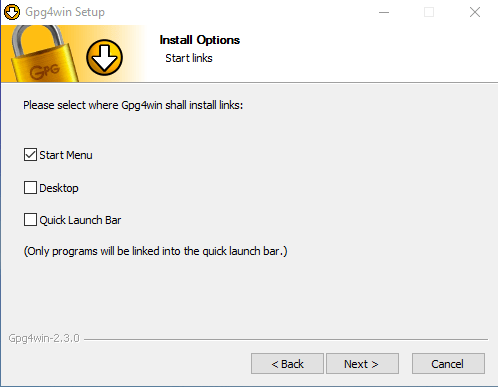
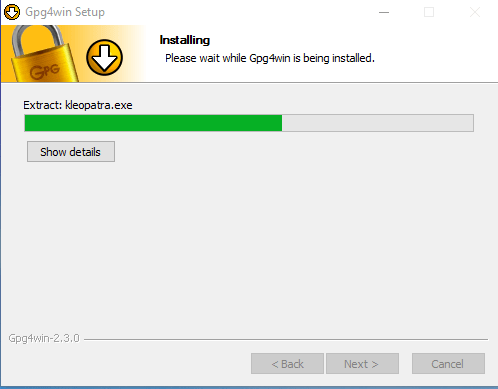
8. Select if and where you’d like to install a shortcut to the GPG4Win application and then click . The application begins to install.
- When the installation completes, click
 and then .
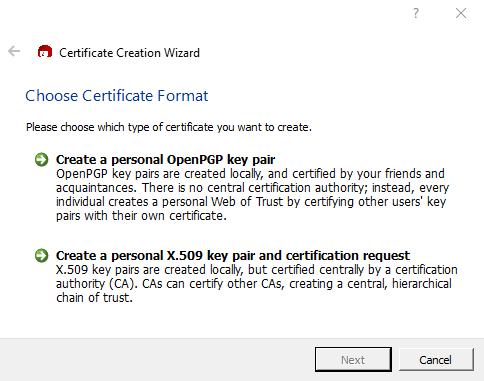
 .
.
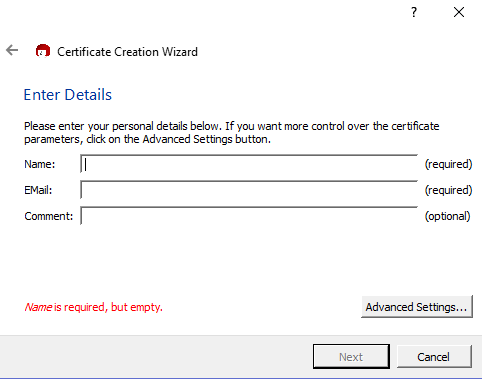
4. Enter pertinent values in the Name, Email, and Comment fields and then click  . The Advanced Settings screen displays.
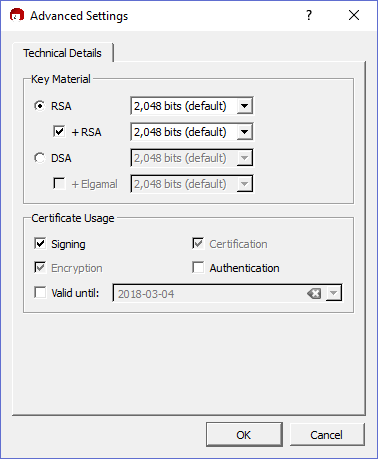

6. Click  and then click
  on the Enter Details screen. A Review Certificate Parameters screen displays.
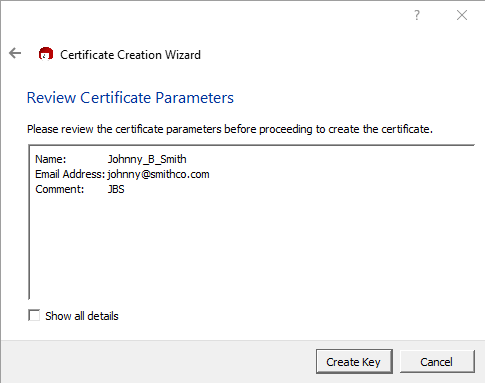
7. To change a parameter, click ![]() ; otherwise, click
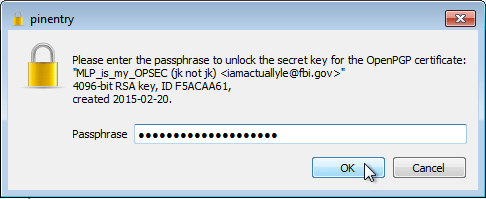
; otherwise, click  . An Enter Passphrase dialog box displays.
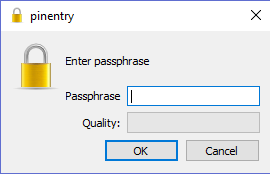
8. Enter a value in the Passphrase field and click  . A Passphrase Confirmation dialog box displays asking you to re-enter your passphrase. Do so in the Passphrase field. The application creates the key and displays it in the Key Pair Successfully Created screen.
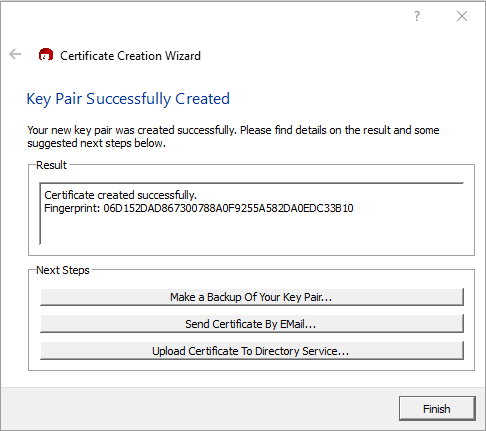
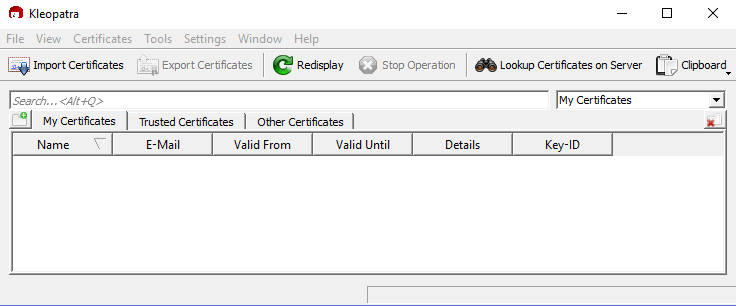
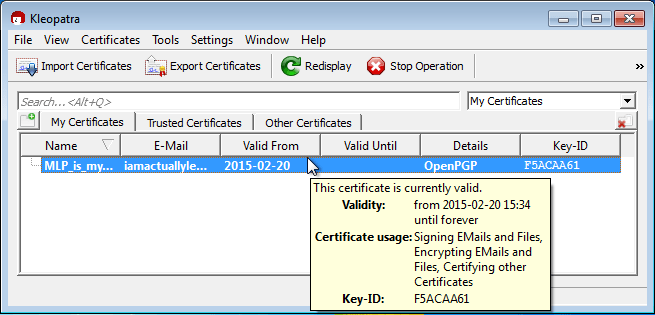
9. Click  . The new key displays in the Kleopatra certificate list.

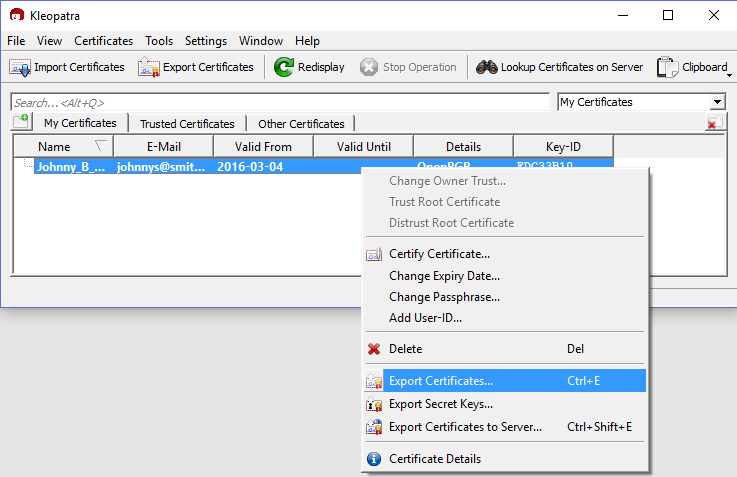
- Browse where you want to save the certificate, give the file a name, and click .
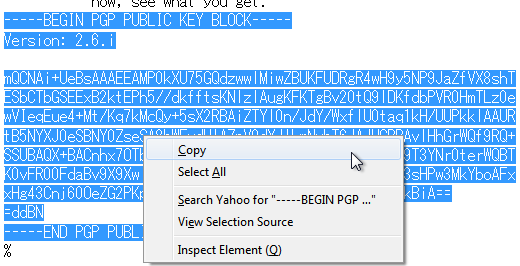
- Open the file in your preferred text editor. NOTE: To see the file properly displayed in the Save location, you may need to select the All Files option in the File Types dropdown next to the File Name field in your File Explorer window. Your public key displays.
 .
.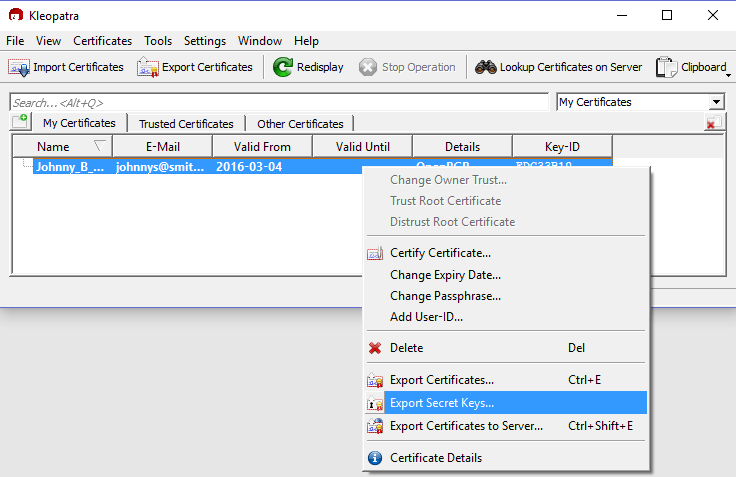
- An Export Secret Certificate dialog box displays. Click the to select where you want to save the key and then click the ASCII armor check box.
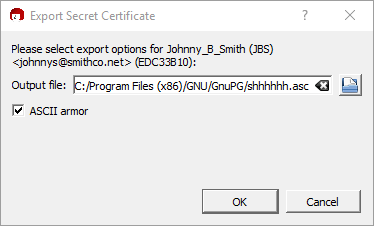
3. An Export Secret Certificate dialog box displays. Click the  to select where you want to save the key and then click the ASCII armor check box.
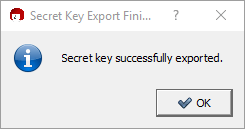
4. Click  . Be sure to keep this key in a safe place and never share it.
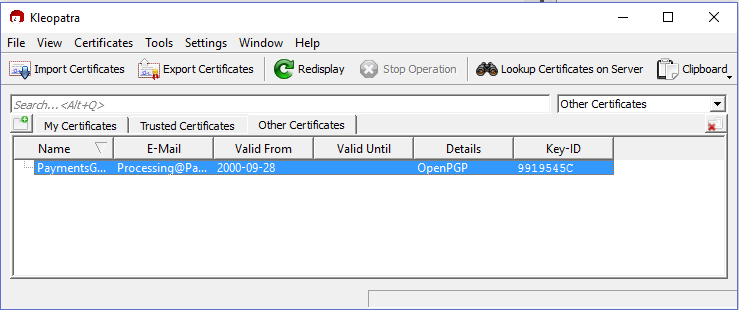
4. Click  . The imported public key now displays under the Other Certificates tab.
Importing Your Private Key
- Open the Kleopatra component. Click File > Import Certificates.
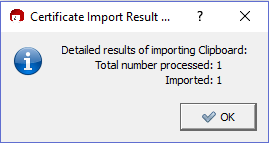
- Use the File Explorer tool to browse to where you've saved your private key. Select the key file and click . The Certificate Import Result dialog box displays.
 . The Certificate Import Result dialog box displays.
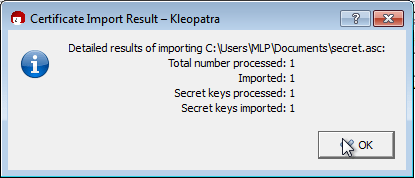
3. Click . The imported private key now displays under the My Certificates tab.
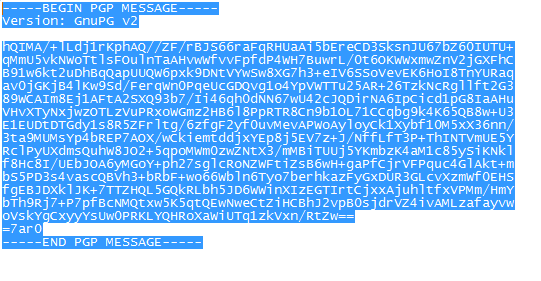
- Enter the passphrase and click . A window displays indicating that the file was decrypted and has been copied to your clipboard. Click .
- Open the text editor of your choice and paste the decrypted message.
